
From capturing star trails to the Milky way and the moon, photographing the extraordinary wonders of the night sky is like a celestial dream come true for every photographer.
While it produces phenomenal imagery/content that social media constantly raves about, it’s also that deep connection between the photographer and the universe that makes astrophotography (aka photography of astronomical objects in the night sky) so rewarding.
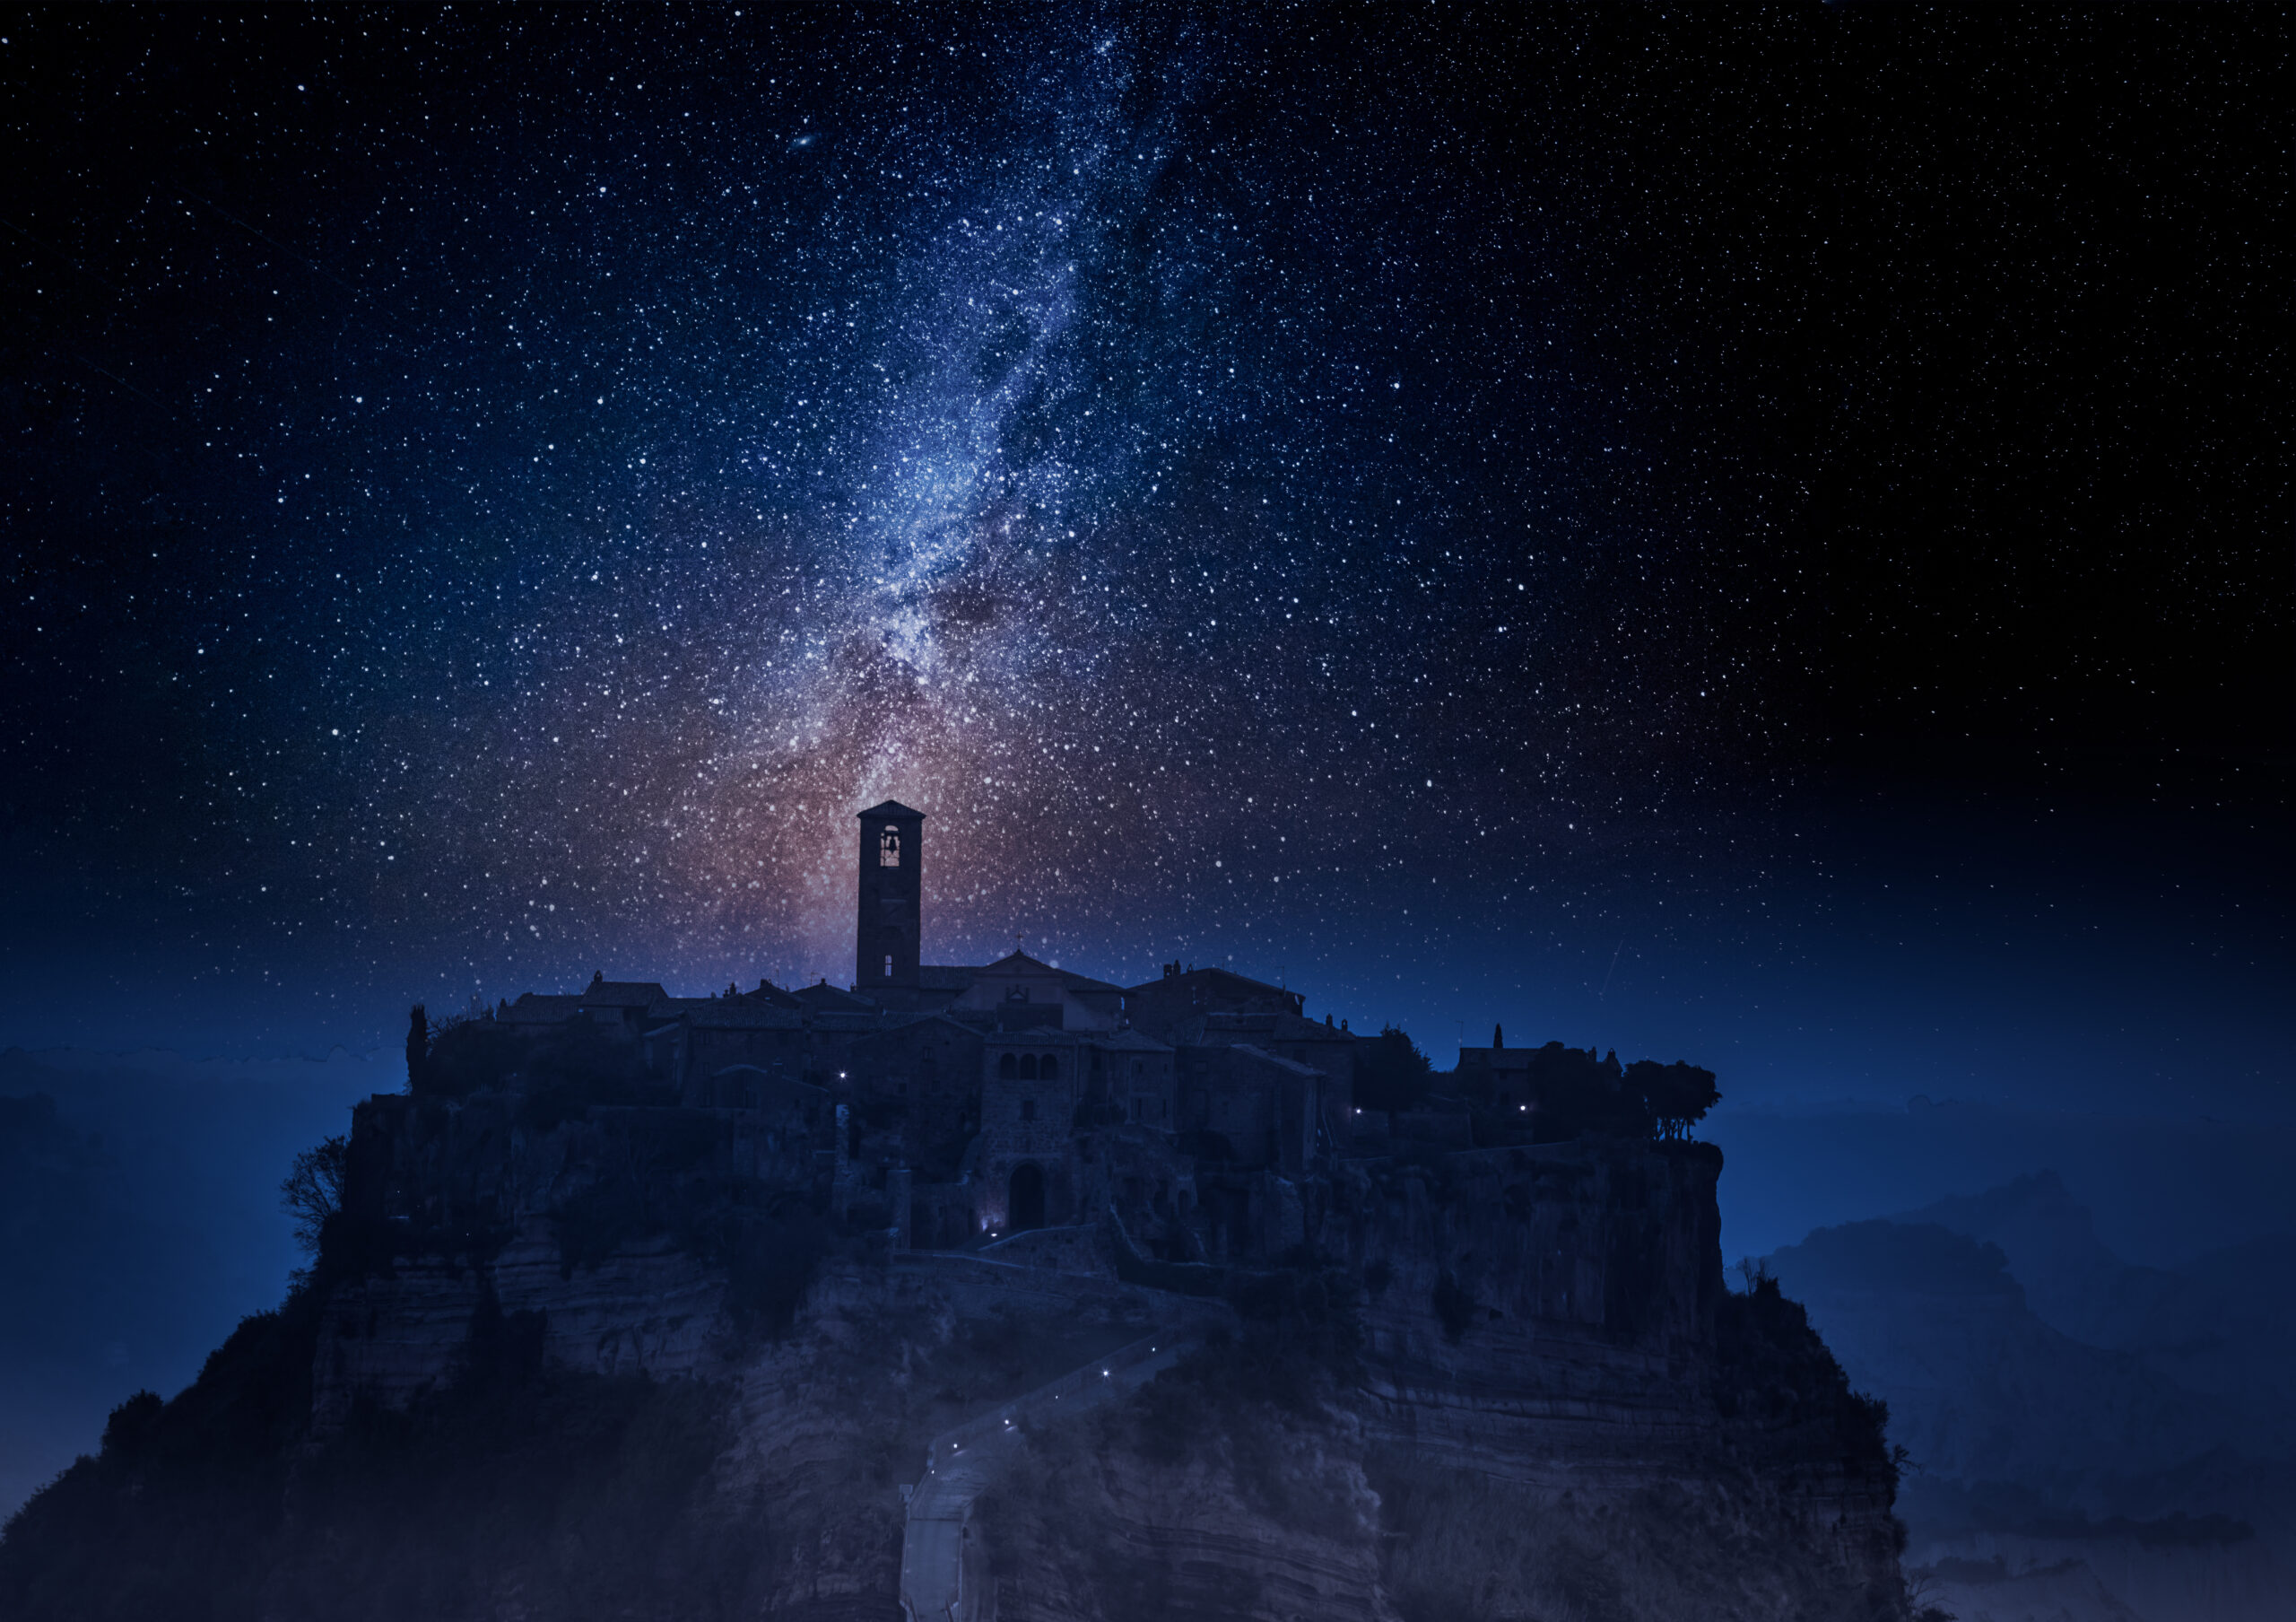
Milky Way over mountains by denisbelitsky, 123RF.
Taking photography to the sky and beyond
In this guide, we’ll be sharing some useful tips and best practices to help you photograph the divine beauty of our night sky. If you are an adventure seeker, a stargazer or someone who enjoys shooting the great outdoors, you may want to try this.
Who knows? You might even get to monetize your best shots as stock photos right here on 123RF. All the more reason to pick up that camera and revel in the dark wilderness capturing dreamlike scenes of the glamorous heavens. Let’s get started, shall we?
1. Photographing the Milky Way
Isn’t it a wonder that today’s digital cameras can capture the exquisite beauty of the Milky Way? This means that anyone can photograph the galaxy and we no longer need to rely on astronomers for some of the greatest snapshots ever.
A camper under a sky full of stars by tolstnev, 123RF.
Tips/best practices to photograph the Milky Way:
- Take into consideration the brightness of the moon as it can wash out the Milky Way.
- The best time to shoot is during a new moon – a week before or after is fine too. August is a good month as the Milky Way will stream down to the southern horizon at this time of the year.
- Take into consideration the Earth’s rotation. Exposing your image for too long will result in losing the stars as pinpoints and they will begin to trail in your images. To find out how long your exposure can be before star trails appear, use the 500 Rule: Maximum Exposure Time (in seconds) = 500 / Focal Length
- Using any camera with at least 1in sensor will enable you to capture the Milky Way. However to yield the best results, use a full-frame DSLR camera.
- Use a wide-angle lens with a wide aperture (f/2.8 or lower if possible).
- You’ll need a sensitivity of ISO 6400 or more for the photoshoot.
After the shoot, use an online photo editor like Pixlr to tease out a bright Milky Way. With Pixlr’s one-click editing tools, you’ll save time on editing and still get pro results.
2. Photographing Star Trails

Beautiful star trails over Mount Fuji by motive56, 123RF.
Ironically, star trails or movement of stars across the sky is something you’d either want to capture or avoid. For instance, when shooting the Milky Way, photographers prefer not to have them in their compositions. But sometimes, it is the majestic beauty of star trails that we are after. If so, here’s what you need to do to take the best shots:
- Star trails are iconic night sky imagery. They can be photographed in any sky conditions, with some patience.
- In the Northern Hemisphere, the stars in the sky will rotate around The North Star or Polaris. You will need to locate Polaris from where you are standing, and point your camera to it.
- If you need help, use apps like Sky Guide, Sky View or Star Walk 2 to locate Polaris.
- There are 2 ways to photograph long exposures of star trails. You can either take a single long-exposure (i.e. 60 minutes) photograph with a very low ISO or take a series of 100 or more photographs with 30-second exposures consecutively. The latter is better.
- Open your images in Pixlr E, layer them one above another and use various blending modes e.g. Multiply, Screen, Lighten, Darken to create a beautiful star trail.
- Carry extra batteries with you. Long exposures on cold nights can be power draining.
3. Shooting the Moon

Closeup shot of the moon by aedka123, 123RF.
Have you ever tried shooting the moon and got disappointed countlessly at how it turned out? Did you get a tiny white spot in a sea of darkness too? We totally feel you. Here are some useful tips to help you prep and do better next time:
- Planning the shoot: Decide on when and how you want to shoot the moon; whether it’s a close up shot or a landscape shot with the moon. Then, source for a suitable location. Photographing a close up shot of the moon requires a very dark area. If you want to shoot a full moon, the ideal time to capture its glow is at dusk. If you’re thinking of doing the landscape shot, you can consider shooting a moonset or moonrise. Remember to look out for the weather. Clear skies are optimal to shoot the moon clearly.
- Getting your gear ready: You’ll need a sturdy tripod to prevent camera shake throughout the long exposure time. A long zoom lens or a Telephoto lens is helpful to fill the frame and show off the moon properly. Use a full frame camera with a telephoto lens to shoot. Otherwise, DSLR, Mirrorless cameras or any interchangeable lens cameras will be great too.
- Camera settings: Use full manual mode, shoot raw to encompass as many details from the moon as possible, use low ISO of 100 or lower to avoid noise, find the sharpest aperture to get crisp shots. Remember: The dimmer an object, the wider the aperture should be. Depending on your lens, shooting at f/11 to f/16 is a good start. Exposure time (shutter speed) should be 1/250th of a second
- Experiment all the way: Keep shooting and don’t be afraid to play with the manual mode settings of your camera to know what works best for you.
All set, let’s go on a night adventure!
Now that you have a better idea of what gear you need, suitable locations to seek for, and the camera type and settings to use in different scenes, there’s really only one thing left to do: get out there and start shooting!
Remember, night sky photography takes time, patience and experience to master. So, don’t forget to have lots of fun while you perfect your skills to the moon and back. Good luck!
_____________________________________________________________________
If you want to learn another cool night photography trick, check this out. But if you’re not much of an outdoor person, check out these types of photography that you can do at home.
This article was first published on https://blog.123rf.com/how-to-photograph-the-night-sky-tips-for-capturing-stars-the-moon-and-the-milky-way/